Disclaimer: There are some affiliate links in this post. The little money that I might make from you purchasing through the links, help our family in buying our curriculum.
 This year, I will also have a 10th grade student. I thought I would share what curriculum we will be using for her, since I shared what curriculum we will be using with the younger children. I am also joining in with the iHomeschool Network and the 5th Annual “Not” Back-to-School Blog Hop.
 Some people think that it isn’t possible to homeschool your children in high school. Well, I say it is possible. Not only do we have a 10th grade student this year, we have also already graduated one a couple of years ago. You can do it, if you take the time to prepare and keep great records and a transcript through their high school years. I plan on sharing with you soon on how I keep track of the records for my high school students. For now though, here is a list of the curriculum we will be using for our 10th grade year.
{History and Geography}
Last year, we came across the author James P. Stobaugh. We were able to use his World History Literature and my daughter LOVED it! So I was really excited when I found out he had written an American History and Literature curriculum. This is a Christian based curriculum that is published by Master Books, a section of New Leaf Publishing Group. I chose to use the American History since I will be doing American History with the younger kids. It will help me out by staying on the same time period with all of the kids. For Geography, my daughter will be participating in a high school co-op. They will be using Visualize World Geography. I have never heard of this curriculum before, but it does sound really interesting.
{English ~ Literature/Writing/Grammar}
As I mentioned above, we had a chance to review a curriculum by James P. Stobaugh last year and will be using his American Literature curriculum this year. She is really excited about the books that are required to read along with the lessons. I will be posting all the books that she will be reading in a separate post. There are 20 books to read! Along with all of the reading, there will be essays and papers to go along with the lessons in her book. For Grammar, we will be using The Blue Book of Grammar and Punctuation. I also have a book called SAT Vocabulary Prep that we will be using for Spelling and Vocabulary. Sarah will also be taking a Writing class with the co-op she will be attending, as well as a Public Speaking class. We haven’t gotten any information on the Writing class yet, but she will be using the book Sound Speech: Public Speaking Student Text.
{Math}
This year for math, we will continue on with A+ TutorSoft. She will finish up Pre-Algebra and then move on to Algebra. Math does not come easy with her and we have had a hard time finding a program that would work with Sarah. Sarah started using this math program back in February and has done much better with the A+ TutorSoft program. She enjoys how they explain the problems to where that she can understand how to do the concepts that they are teaching. This has made learning math a lot easier for us.
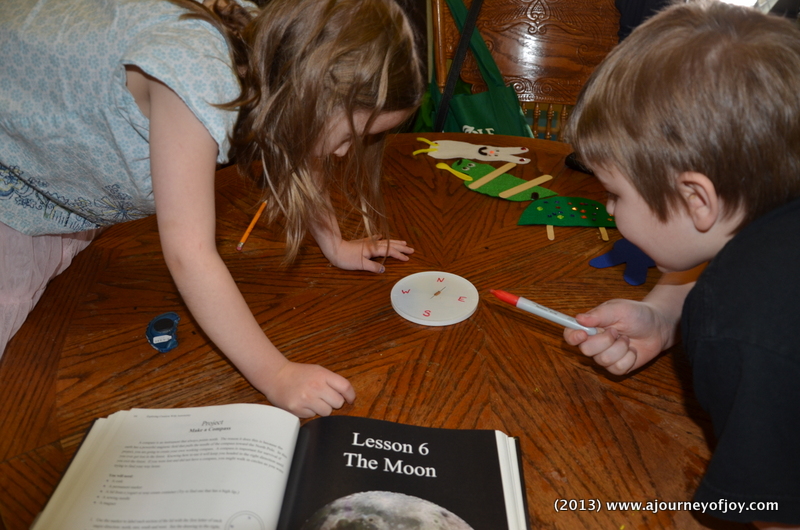
{Science}
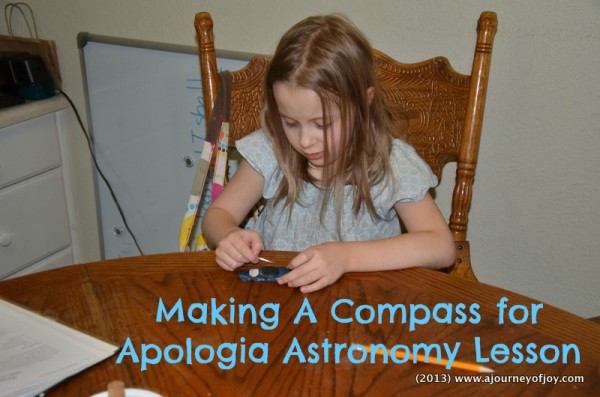
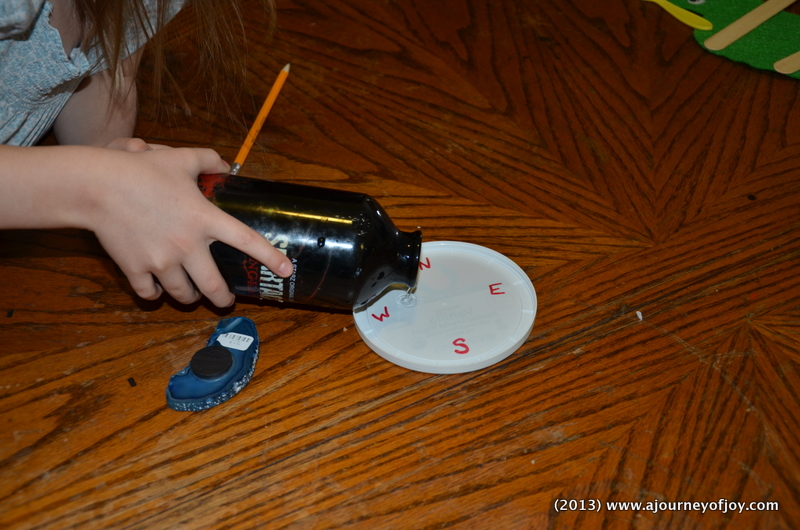
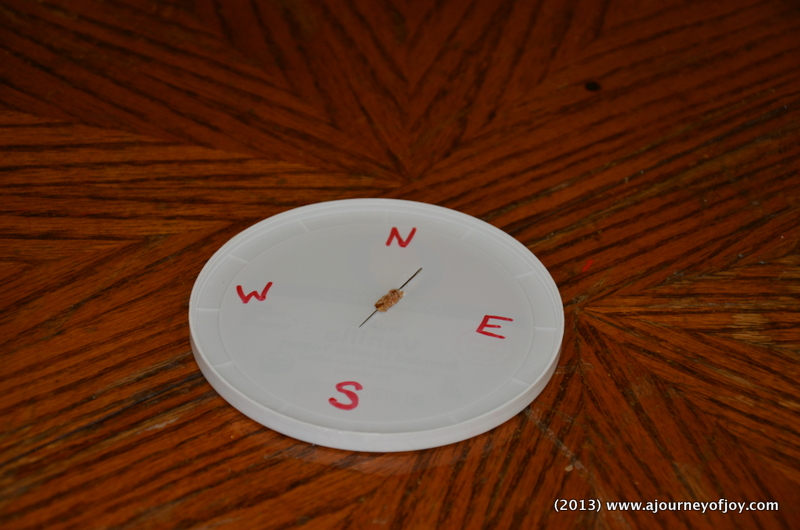
We have been using Apologia Science curriculum for 7 years now and will continue to use it this year. Last year, Sarah completed the Biology curriculum and will move to the Marine Biology this year.
{Bible}
I had bought Who is God?, from Apologia last year. I had planned on using this curriculum with all of my children, but when we moved, we were all a little overwhelmed, so I sat this aside. I will use this with all 3 kids and we will do it together. There is a Notebooking Journal for Who is God?, that Sarah will work in.
{Fine Arts}
Sarah will be continuing with See The Light Art Project DVD’s. She has finished a couple of the dvd’s this last year and really enjoyed the way Pat Knepley teaches the different techniques. She will also be taking part in a musical theater production of Pilgrim with the high school co-op. Sarah has also expressed interest in taking music lessons from her dad. She wants to learn to play the cello, but will start with the upright bass.
{Foreign Language}
Sarah is wanting to learn German or Russian as her foreign language. I am still looking for a good and affordable program to use with her. One that she can do on her own. Do you have any suggestions?
{Electives}
For electives, Sarah will be taking sewing and cooking lessons. This will be her Home Economics elective for the school year. I will be teaching her how to cook and our neighbor will be taking time with her a couple of times a week, helping her with sewing.
{Extra Curricular Activities}
Sarah will be taking dance lessons this year. We have finally found a lovely studio right down the road from us. Sarah will be taking Tap and Jazz classes. She will also continue to take riding lessons from a friend of ours. Sarah is also active in the Youth group at church and participates in a small group class with several girls from church.
As of now, this is how Sarah’s 10th grade year is looking. She will definitely be a busy teenager this next year. It does seem like a lot, but it also helps that she will be doing some of this with the high school co-op. As with anything, once the year starts, we will be able to tell if we will accomplish all that we have planned or if we will need to cut back on a few things. Being able to tailor the curriculum to your child’s interests and needs is one of the joys of homeschooling. As our children get older, it is important to our family that we include them in the decisions and choices that we make for their schooling. What may work for us, may not work for you. It is very important to pray and ask God to help guide your steps.
What are your plans for the school year? I would love to see the exciting plans you have made for you and your family!