
Big Book of Earth & Sky review

Big Book of Earth & Sky review

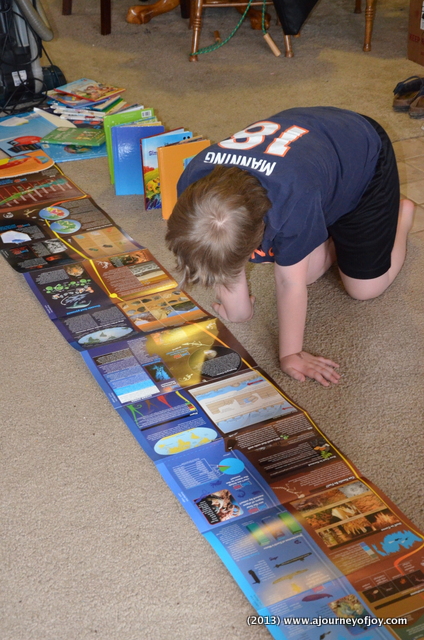
The Big Book of Earth and Sky is a 15ft chart book that is written by Bodie Hodge and Dr. Carolyn Reeves and published by New Leaf Publishing.  This book shows and explains about the Earth and the Sky from the Outer Atmosphere all the way to the Inner Core of the Earth, from a creation point of view.  The book is specified for ages 7-12.  However, I think a younger child would enjoy it, if a parent was reading the information to the child.  The illustrations are very colorful and draws you in to the book.

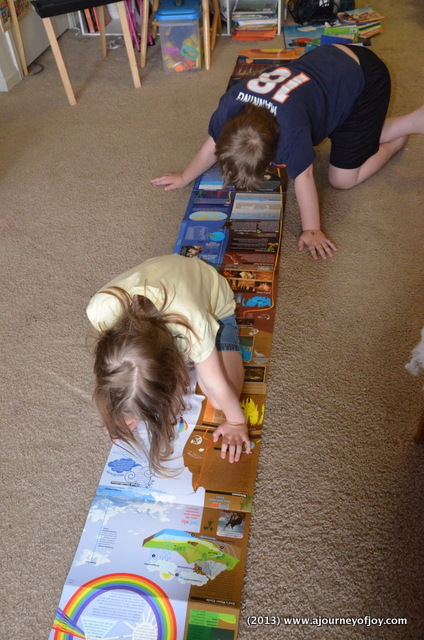
There are several ways you can use the Big Book of Earth and Sky.  You can read it as a chart as you fold it out, panel by panel.  You can use it is a resource tool.  You can use it as a spring board (along with the Teacher’s Guide), to learn about different topics from the Earth’s Atmosphere to the layers of the Earth.   This book would be a great start to use for a unit study, using the Teacher’s Guide.

DSC_2941


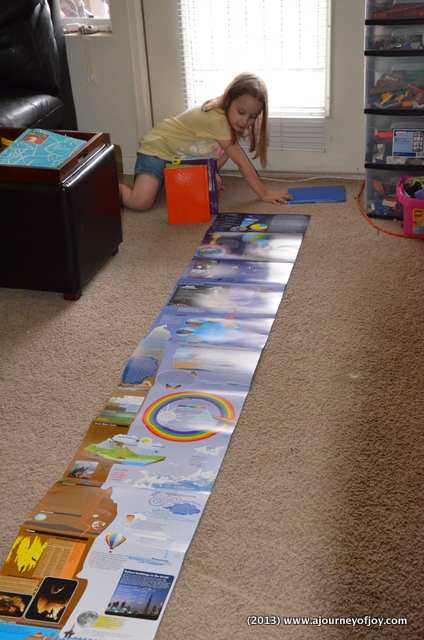
The Big Book of Earth and Sky has detailed charts and graphs about the earth’s crust, caves and clouds.  You can read all sorts of facts about the mountains and the weather.  You can explore the oceans and read about deep-sea diving records.  You can read about the water cycle, mountain zones and volcanoes.  The amount of information packed into this book is amazing.

DSC_2942


Our family is a science loving family.  We love learning all about God’s creation, how things are made and how they work.   This book does not let us down in any way.  It  talkes about many things of the Earth and Sky.  It gives a lot of pictures showing different parts of the earth, explaining how things work and how things are formed.  We have looked at this book almost daily since we have received it and have learned something new every time we have looked at it.  We highly recommend this book!  We think that Mr. Bodie Hodge and Dr. Carolyn Reeves did an amazing job putting together this book.

DSC_2944

If you purchase the book online from New Leaf Publishing, you can also purchase the Teacher Resource Guide for $6.99 or you can download it for free!  The teacher Resource Guide has questions, activities and discussions that you can do with your children.

Be sure to join Master Books on their Facebook Page for the Book and a Bite Party.  It will be May 28th, 2013, beginning at 8pm CDT.  The Big Book of Earth and Sky will be featured along with our Bite Sponsor Devo Olive Oil (http://devooliveoil.com/).  They will even be giving away a prize!  There will be other prizes at the party, including gift certificates.  I hope to see you there!

disclaimer: I was given this book by New Leaf Publishing Group/Master Books in exchange for a review.  All opinions stated are my own.  No other compensation was given.

making a compass for Apologia Astronomy lesson

making a compass for Apologia Astronomy lesson

The next project for our Apologia Astronomy lesson, was making a compass.  It is the last project on our lesson about planet Earth and tied in with the last section that we read about, “Perfect Magnetosphere”.   What is a “Magnetosphere”? A magnetosphere is a huge area of magnetic power that is around Earth.

The Earth has a huge magnetic field that is made in the outer core of the earth.  This magnetic field pulls harmful particles away from the earth.  The harmful particles is called a solar wind.  Without this magnetic field, we wouldn’t be able to survive on Earth.  Isn’t that amazing?

The magnetosphere that is around the earth actually blocks some of the solar winds that come from the sun.  The solar winds that are able to get through are mostly around the North and South Poles.  As they are traveling past the North and South Poles, they start running into gases in the earth’s atmosphere.  This is where those beautiful lights that are called “auroras” come from!

Now on to the fun part of this lesson, the project of making a compass!  The supplies for this project  that you will need is a cork, permanent marker, a lid from a yogurt or sour cream container, a sewing needle and a magnet (needs to be a strong magnet).

clairecompass

What you do first is label the lid with (N)orth, (S)outh, (E)ast, (W)est.  Then you run the needle over the top of the magnet several times, making sure that you move the needle in the same direction.  Then you will cut off a little piece of cork and put it in the middle of the needle.

pouring water in the lid.

pouring water in the lid.

Then you will fill the lid to the very top with water.  You will then put the cork and needle in the lid so that the needle is floating roughly parallel to the surface of the water.  Then watch what happens!  Turn the compass and you will notice that the needle continues pointing in the same direction.

Needle is pointing North.

Needle is pointing North.

Regardless of how you turn the compass, one end of the needle will always point to the north and the other end to the south.  Yes, this really works!

Checking the direction the needle is pointing.

Checking the direction the needle is pointing.

How does this work?  Since you turned the needle into a magnet by running it over the magnet, it is affected by the Earth’s magnetic field!

My kids had a really fun time with this project.  Well I have to admit, I did too!  We can’t wait to begin the next lesson on the Moon!

I am linking up with The Homeschool Scientist and Apologia.  Be sure to stop by Apologia and check out the other projects that have been linked up!

Have you done any neat science projects or activities?  I would love for you to share them with us!


Earth and its seasons ~ Apologia Astronomy activity

Earth and its seasons ~ Apologia Astronomy activity

We have made it to the planet Earth in our Astronomy study.  With all the sickness and then dental issues that have happened in our house, our science, Astronomy by Apologia was put on hold.

We had already talked about how the earth rotates and it takes 24 hours to make a day.  We also learned that while the earth is rotating, it is also revolving around the sun and that takes 365 days, to make a year.  This lesson, we read about how the earth has a tilt, the equator, the Northern Hemisphere and Southern Hemisphere.   As the earth revolves around the sun, the tilt allows the hemisphere that points to the sun to get that direct sunlight and they will be much warmer.  The hemisphere that is not pointed toward the sun will obviously get less sunlight, making it the cooler months.

Our activity for the lessons was getting our globe out (it has a tilt to it) and a lamp.  We put the lamp in the middle of the floor, had each of them to take turns walking Earth (the globe) around the Sun (lamp), counterclockwise.

Claire rotating the Earth around the Sun.

By doing this, the kids could see what hemisphere of the Earth was getting the most sun at that time and what hemisphere had less direct light.

Sammy rotating the Earth around the Sun.

The kids and I had fun with this lesson.  It was fun to learn about how the tilt of the Earth provides the different seasons as it revolves around the sun.

Have you done any fun activities or projects in science lately?  I would love for you to share them!

I am linking up with Adventures in Mommydom’s, Science Sunday.

Science Sunday